Tuesday, August 23, 2011

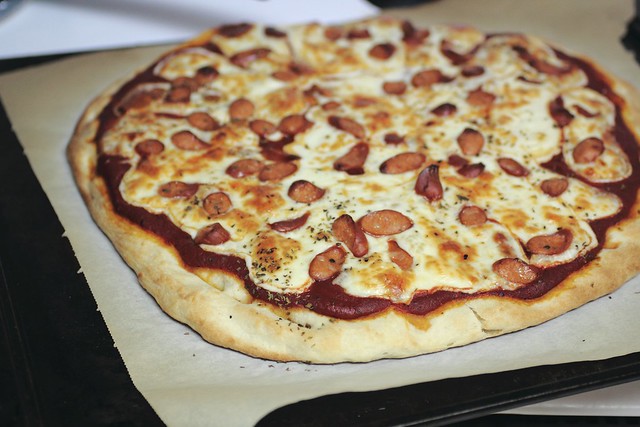
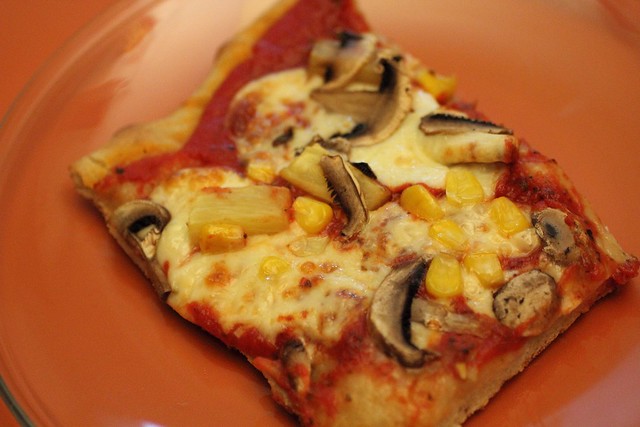
Pizza Pizza Pizza


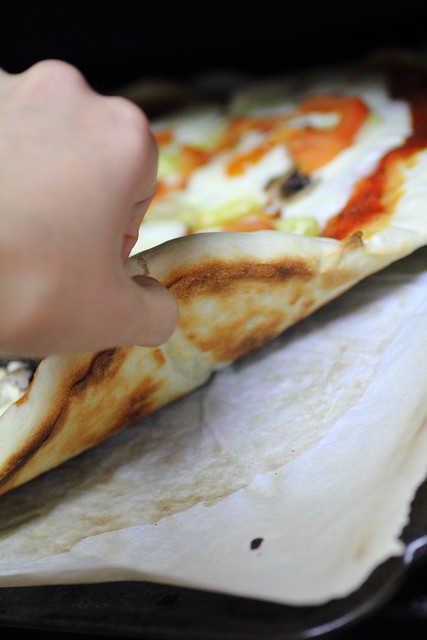
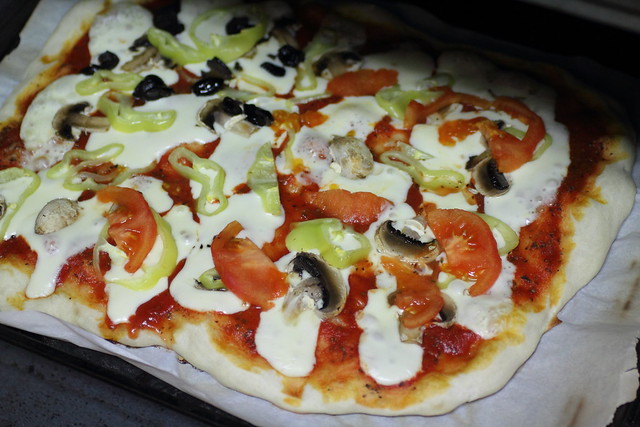
I love to make pizza from scratch so here are dough recipes that I use.


Pizza dough (my favourite recipe)


2 tsp yeast mixed with some brown sugar (1 1/2 tbsp)
Dissolve in water and let proof.

Add:

2 tbsp olive oil

2 3/4 flour

2 tsp salt

3/4 - 1 cup warm water

Mix and knead 7-10 mins until it's smooth and soft.

Oil bowl lightly and allow dough to rest in bowl covered with cling wrap in a warm spot for 2-6 hours.


Another recipe:

Mitch's world best pizza dough:


3 1/2 cups flour
1 cup warm water (between 95° and 115° F.)
2 T yeast (2 tablespoons, I like my dough a little yeasty. You can use less)
2 T honey
1/4 cup olive oil
1/2 tsp. salt

(Same instructions as above)


Maxwell's Pizza Dough


1 package active dry yeast

1 teaspoon sugar

1 cup warm water

1 tablespoon kosher salt

Extra-virgin olive oil

3 cups 00 flour, plus more for dusting

In the bowl of a standing electric mixer fitted with a dough hook, combine the yeast, sugar, and warm water; stir gently to dissolve. Let the mixture stand until the yeast comes alive and starts to foam, about 5 to 10 minutes.

Turn the mixer on low and add the salt and 2 tablespoons of olive oil. Add the flour, a little at a time, mixing at the lowest speed until all the flour has been incorporated. When the dough starts to come together, increase the speed to medium; stop the machine periodically to scrape the dough off the hook. Get a feel for the dough by squeezing a small amount together: if it's crumbly, add more water; if it's sticky, add more flour - 1 tablespoon at a time. Mix until the dough gathers into a ball, this should take about 5 minutes.

Turn the dough out onto a lightly floured surface and fold it over itself a few times; kneading until it's smooth and elastic. Form the dough into a round and place in a lightly oiled bowl, turn it over to coat. Cover with plastic wrap or a damp towel and let it rise in a warm spot (i.e. over a gas pilot light) until doubled in size, about 1 hour. This is a good time to stick a pizza stone in the oven and preheat them to 500 degrees F.

Once the dough is domed and spongy, turn it out onto a lightly floured counter. Roll and stretch the dough into a cylinder and divide into 3 equal pieces. Cover and let rest for 10 minutes so it will be easier to roll out.

Roll or pat out a piece of dough into a 12-inch circle, about 1/8-inch thick. Dust a pizza paddle with flour and slide it under the pizza dough. Brush the crust with a thin layer of olive oil, and top with your favorite flavors. Slide the pizza onto the hot stone in the oven and bake for 12 to 15 minutes, until the crust is golden and crisp. Repeat with the remaining dough.

Yield: 3 pizza crusts


Peter Reinhart's Napoletana Pizza Dough Recipe


4 1/2 cups (20.25 ounces) unbleached high-gluten, bread, or all-purpose flour, chilled
1 3/4 (.44 ounce) teaspoons salt
1 teaspoon (.11 ounce) instant yeast
1/4 cup (2 ounces) olive oil (optional)
1 3/4 cups (14 ounces) water, ice cold (40°F)
Semolina flour OR cornmeal for dusting

1. Stir together the flour, salt, and instant yeast in a 4-quart bowl (or in the bowl of an electric mixer). With a large metal spoon, stir in the oil and the cold water until the flour is all absorbed (or mix on low speed with the paddle attachment), If you are mixing by hand, repeatedly dip one of your hands or the metal spoon into cold water and use it, much like a dough hook, to work the dough vigorously into a smooth mass while rotating the bowl in a circular motion with the other hand. Reverse the circular motion a few times to develop the gluten further. Do this for 5 to 7 minutes, or until the dough is smooth and the ingredients are evenly distributed. If you are using an electric mixer, switch to the dough hook and mix on medium speed for 5 to 7 minutes, or as long as it takes to create a smooth, sticky dough. The dough should clear the sides of the bowl but stick to the bottom of the bowl. If the dough is too wet and doesn't come off the sides of the bowl, sprinkle in some more flour just until it clears the sides. If it clears the bottom of the bowl, dribble in a tea- spoon or two of cold water. The finished dough will be springy, elastic, and sticky, not just tacky, and register 50 to 55F.

2. Sprinkle flour on the counter and transfer the dough to the counter. Prepare a sheet pan by lining it with baking parchment and misting the parchment with spray oil (or lightly oil the parchment). Using a metal dough scraper, cut the dough into 6 equal pieces (or larger if you are comfortable shaping large pizzas), You can dip the scraper into the water between cuts to keep the dough from sticking to it, Sprinkle flour over the dough. Make sure your hands are dry and then flour them. Lift each piece and gently round it into a ball. If the dough sticks to your hands, dip your hands into the flour again. Transfer the dough balls to the sheet pan, Mist the dough generously with spray oil and slip the pan into a food-grade plastic bag.

3. Put the pan into the refrigerator overnight to rest the dough, or keep for up to 3 days. (Note: If you want to save some of the dough for future baking, you can store the dough balls in a zippered freezer bag. Dip each dough ball into a bowl that has a few tablespoons of oil in it, rolling the dough in the oil, and then put each ball into a separate bag. You can place the bags into the freezer for up to 3 months. Transfer them to the refrigerator the day before you plan to make pizza.)

4. On the day you plan to make the pizza, remove the desired number of dough balls from the refrigerator 2 hours before making the pizza. Before letting the dough rest at room temperature for 2 hours, dust the counter with flour, and then mist the counter with spray oil. Place the dough balls on top of the floured counter and sprinkle them with flour; dust your hands with flour. Gently press the dough into flat disks about 1/2 inch thick and 5 inches in diameter. Sprinkle the dough with flour, mist it again with spray oil, and cover the dough loosely with plastic wrap or a food-grade plastic bag. Now let rest for 2 hours.

5. At least 45 minutes before making the pizza, place a baking stone either on the floor of the oven (for gas ovens), or on a rack in the lower third of the oven. Heat the oven as hot as possible, up to 800F (most home ovens will go only to 500 to 550F, but some will go higher). If you do not have a baking stone, you can use the back of a sheet pan, but do not preheat the pan.

6. Generously dust a peel or the back of a sheet pan with semolina flour or cornmeal. Make the pizzas one at a time. Dip your hands, including the backs of your hands and knuckles, in flour and lift I piece of dough by getting under it with a pastry scraper. Very gently lay the dough across your fists and carefully stretch it by bouncing the dough in a circular motion on your hands, carefully giving it a little stretch with each bounce. If it begins to stick to your hands, lay it down on the floured counter and reflour your hands, then continue shaping it. Once the dough has expanded outward, move to a full toss as shown on page 208. If you have trouble tossing the dough, or if the dough keeps springing back, let it rest for 5 to 20 minutes so the gluten can relax, and try again. You can also resort to using a rolling pin, though this isn't as effective as the toss method.

7. When the dough is stretched out to your satisfaction (about 9 to 12 inches in diameter for a 6-ounce piece of dough), lay it on the peel or pan, making sure there is enough semolina flour or cornmeal to allow it to slide. Lightly top it with sauce and then with your other top- pings, remembering that the best pizzas are topped with a less-is-more philosophy. The American "kitchen sink" approach is counterproductive, as it makes the crust more difficult to bake. A few, usually no more than 3 or 4 toppings, including sauce and cheese is sufficient.

8. Slide the topped pizza onto the stone (or bake directly on the sheet pan) and close the door. Wait 2 minutes, then take a peek. If it needs to be rotated 180 degrees for even baking, do so. The pizza should take about 5 to 8 minutes to bake. If the top gets done before the bottom, you will need to move the stone to a lower self before the next round. if the bottom crisps before the cheese caramelizes, then you will need to raise the stone for subsequent bakes.

9. Remove the pizza from the oven and transfer to a cutting board. Wait 3 to 5 minutes before slicing and serving, to allow the cheese to set slightly.

Makes six 6-ounce pizza crusts.

from The Bread Baker's Apprentice by Peter Reinhart (Ten Speed Press) - reprinted with permission

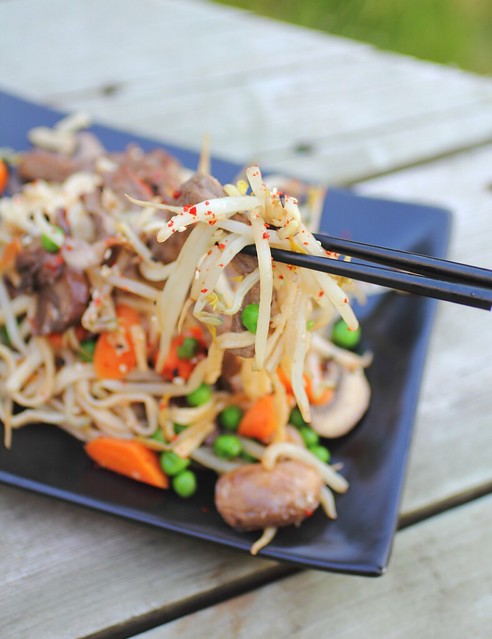
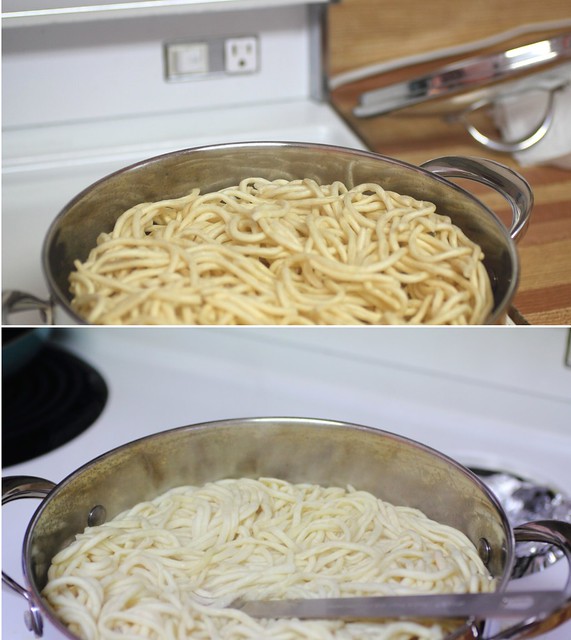
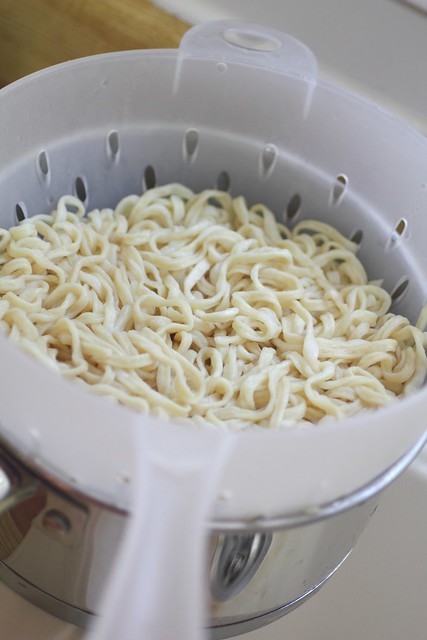
E Fu Noodles


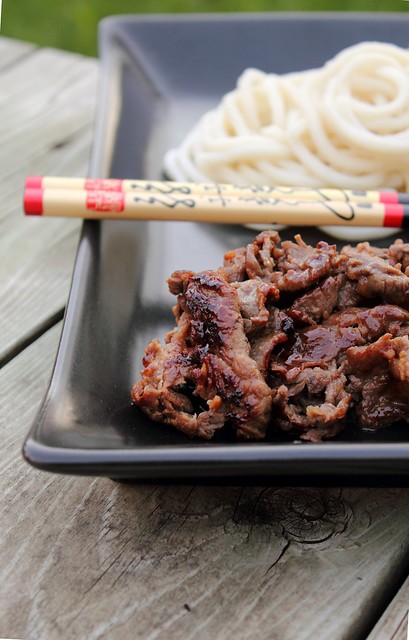
Korean BBQ II


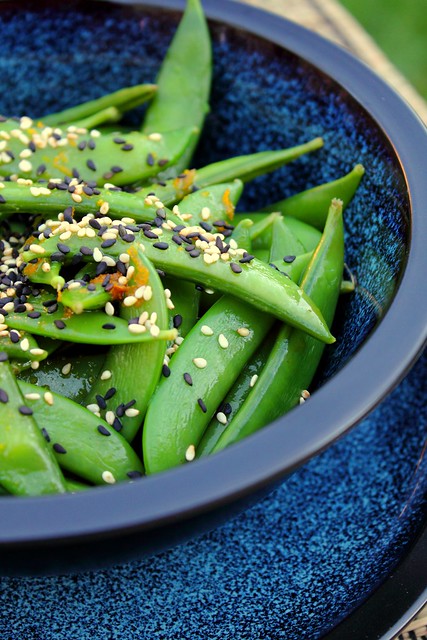
Orange sesame snap pea salad

-Snap peas, blanched lightly

Dressing:
-Sesame seeds
-Soy sauce
-Juice of orange
-Zest of orange
-Sesame oil
-Rice vinegar

Toss and enjoy!


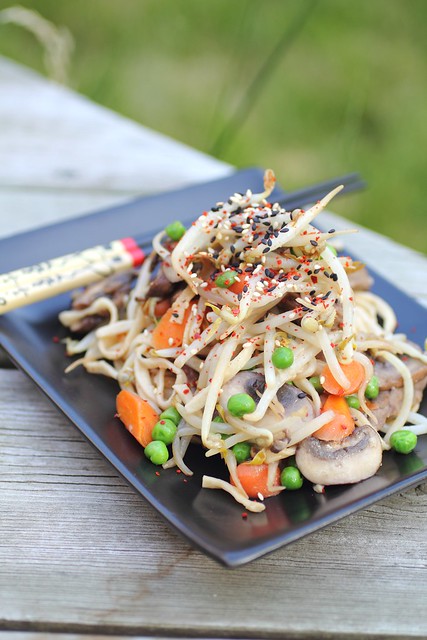
Served with: Korean BBQ steak with udon noodles

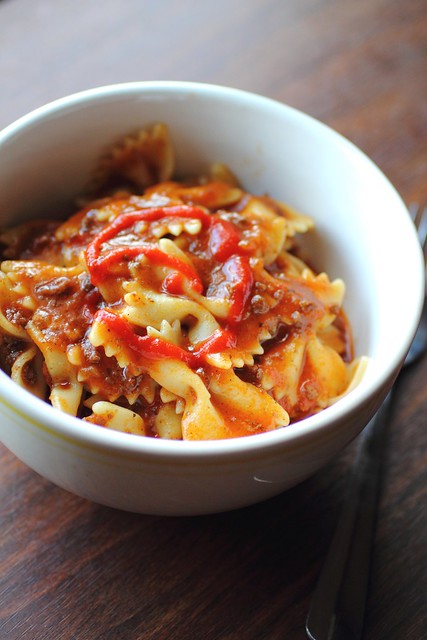
Chili

How do you like to eat your chili?

I think chili is truly a fantastic dish, and we often ate it with rice back home but today I like to switch it up so it's tortillas, rice, pasta.. polenta, couscous! Whatever you got!

Whatever you choose to serve it with you're going to need one thing, and that's a fantastic chili recipe!

This is my recipe that I prepared for the chili dogs early in the summer. Don't be afraid of dry beans, just get them soaking the night before and you're good to go.

If you want to prepare in advance boil them up and freeze, now you can just pull out a bag and throw it in the chili, trust me, you'll be saying byebye to those cans before you know it ;-)


My homemade Chili


One or two nights in advance:

- Measure out dry kidney beans (or any beans of your preference)
I did a mixture of kidney and Steuben yellow eye bean (an heirloom

variety used in baked beans)

The rule is to wash, soak in a lot of salty water, so keep adding salt

until it tastes like the ocean.

Some people don't add salt to their soaked beans, which is fine but I

think the beans taste a lot better if they absorb some salt.


After 12 hours or a day, and you're ready to boil these beans simply

dump all the water into a large pot and bring to a boil then simmer on

medium low until the beans are tender (adding more water if it steamed

off) I keep the lid slightly covered as if it's closed tightly it

overflows sometimes due to the starchiness.

This may take a few hours but once they are tender (be sure to check a

few to make sure all of them are cooked and not just a random one and

then you end up with hard beans) They should keep their shapes almost

but be nice and tender.

Alternatively if you want to skip this step and use canned beans that's

fine too but I think more people should be going back to dry beans,

they are creamy and I think it takes the whole dish to another level.


Preparing chili

Ingredients:

- 1 lb ground meat (I use beef but you can use turkey or chicken..)
- 2 1/2 to 3 cups precooked beans

- 1 Chopped onion
- 2 medium Chopped green bell pepper

- Tomato paste (few tbsps)
- 1 can pureed tomato

- 1 tbsp molasses
- Worsterchire sauce

- Salt & Black pepper to taste
- Ground cumin powder

Water
Oil


Directions: In a large heavy bottomed pan on medium high heat add oil, sautee onions and peppers until they are transluscient or slightly softened (but not burning)
Bring the heat up to high and brown the ground meat really well, you want to see brown bits in the pot (this is extra flavour)

Add tomato paste and fry it around, add can of tomato, season with salt and pepper, 3/4 tsp cumin powder or so, molasses, worstershire sauce, strained tomato puree and water.

Simmer on medium low until the meat and vegetables are so very tender, I left mine on the stove for 6 hours and kept adding more water to the pot as it boiled off (even though the lid was on)


In the last hour or so add the beans to the pot and let them absorb the yummy flavours and simmer together.

If making the chili dogs below immediately let the chili cool a bit before topping them.


Monday, August 22, 2011

Spicy Pineapple

Loosely inspired by Chef Rick Bayless's recipe

Spinach Walnut Pesto

Tupperware goodness

Orzo pasta tossed with a fresh spinach/walnut pesto, roasted red peppers, sundried tomatoes, parmigiano reggiano and fresh parsley!

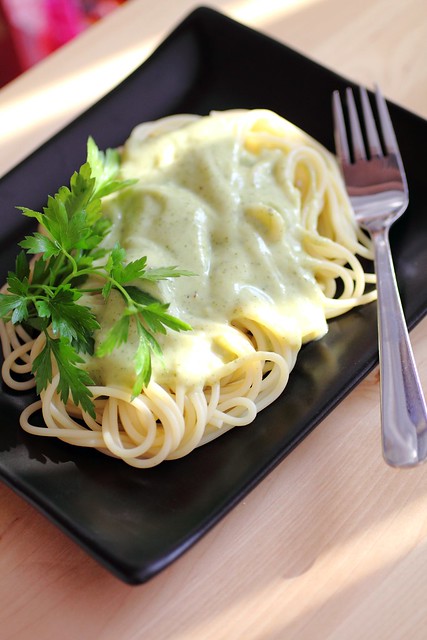
Creamy Zucchini Pasta


Zucchini cream pasta

-Oil and a dash of butter
-Chopped zucchini
-Onion
-Garlic
-Salt & Pepper

-Parmigiana Reggiano Cheese (optional)
-Freshly grated nutmeg

Heat skillet and sautee onions, zucchini until translucent, add seasonings, then add garlic and sautee just a little more to take the sharpness out.

Now transfer to a blender and whiz until it's creamy.

To make a cream sauce check this recipe Add a dash of nutmeg.

Add the zucchini "pesto" to the cream sauce and a lot of finely chopped parsley. Garnish with cheese if desired.

Toss with pasta and serve!


For a variation add a smoked meat to the zucchini mix.
Another variation is heating some heavy cream in a skillet and it will thicken a bit (this is a quick cream sauce!) And add the pesto to that and toss.